In our world of sedentary lifestyles, phones and computers, sitting disease leading to typically poor posture and poor shoulder function is all too common. The shoulder joint without muscular contraction and synergistic stability is very unstable. While things like genetics, muscular balance, shoulder joint fibrosis and previous injury can certainly restrict ROM, most people actually have restricted ROM due to instability and poor alignment of the humeral head within the glenoid fossa.
Functional Shoulder Anatomy 101: In the picture below, anterior dislocation may come along with permanent changes to the stability of the shoulder. Similarly, those with poor posture due to rounded shoulders & head being forward have a humerus that sits forward inside the glenoid.

Therefore training shoulder mobility must address both mobility and stability. Due to the issues listed above and anatomy, very few people demonstrate good motor control of the shoulder, and therefore should not be performing activities like Olympic lifts, gymnastics, overhead movements (i.e. handstands), burpees & kipping pull-ups to name a few.
- When you have a relatively mobile joint, stability comes from balanced muscular contraction.
- When the brain senses a positional change from central / stable, it sends signals to restrict ROM (i.e. reduce the threat of muscular injury or dislocation). Muscles of the deltoid, pecs, lats, rotator cuff etc give 3D shoulder joint stability.
- When all muscles are functioning with proper posture (low level activities), the joint remains central. In addition, the muscles remain responsive to movement & respond with the appropriate force to guide motion of the humerus inside the glenoid.
Without proper ROM and/or stability surrounding the shoulder, continuing to practice these movements may lead to pain or injury. Due to obesity, automation & poor lifestyle choices, greater numbers of people are participating in group fitness, boot camps, Crossfit, HIIT classes. With this comes a rise in shoulder injuries due to poor coaching, higher rep ranges, lifting heavier, using more complex movements and doing this all through restricted ranges of motion.
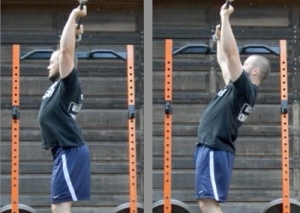
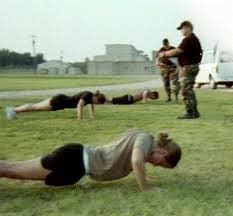
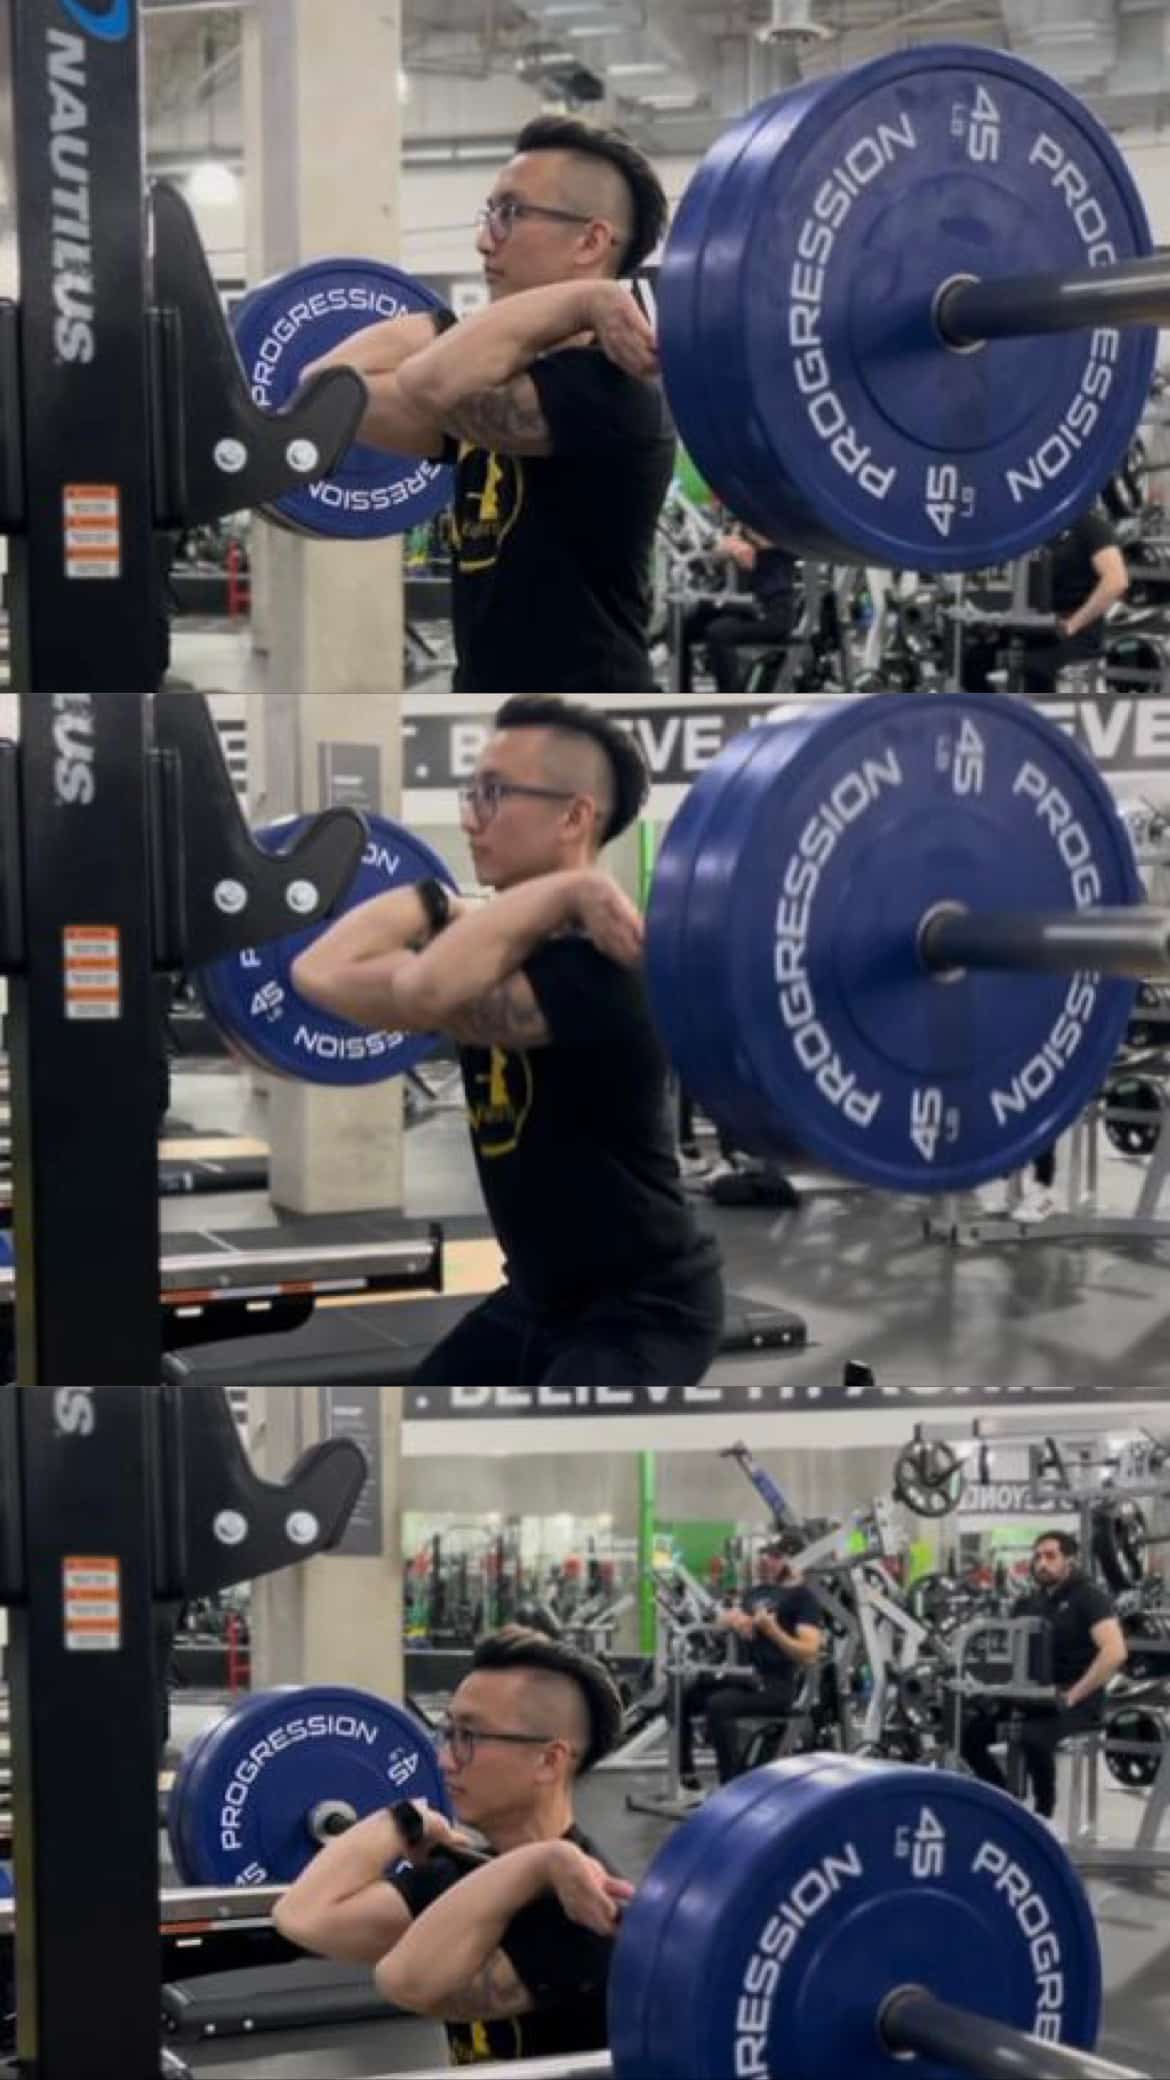
The photos below are examples of either lack of mobility or stability or both. Neither one of these individuals are prepared to safely perform the exercises shown. Trainers need to assess shoulder stability/ mobility and ensure that we are training and progressing their clients appropriately.
In order to obtain the necessary mobility, a great approach is to
- evaluate
- release / SMR
- stretch the muscles that are tight, and 4. strengthen that are weak.
- create the appropriate control of movement to prevent injury or future alignment problems.
Below we will take you through a series exercises to mobilize and stabilize the shoulder joint.
Step 1. Foam rolling / SMR to create movement, activate muscles and remove tightness surrounding the shoulder:
To release the lats and pecs, we will go over a few key muscles and user friendly SMR protocols.
- Start by assuming the position demonstrated in the video below.
- Make a few slow passes lengthwise over the muscle in order to locate the tender areas.
- Once the areas have been determined, proceed to specific pin and move techniques that include spanning or shearing (cross fiber work) in order to potentially break down fascial adhesions.
- Make sure that the perceived pain level is kept to a 4 or 5 out of 10 and it is advised to use deep belly breathing during rolling.
Disclaimer: While the release techniques illustrated are generally safe, always consult with a trained myofascial release practitioner before self administration.
Step 2. Stretch overactive / restricted ROM muscles:
There are many stretches that can be used but we’ve included an example that will effectively stretch the lats, triceps and pecs in one stretch. See video below:
- Get onto all fours and place elbows onto bench or chair.
- While keeping neutral spine, hold doweling in hands, palms up, and reach hands down behind head.
- Once in position, the stretch can be held for 30 sec of you can perform PNF moves by pressing the elbows down into the bench for 3-5 seconds and then dropping deeper into the stretch.
- To progress stretch, weight can be added to the dowel or knees can be moved back to lengthen the lever.
Step 3. Strengthen or stabilize the shoulder joint.
Now that the shoulder has been released and stretched, it is necessary to let the nervous system establish control within the newly achieved ROM. To do this we need to create strength, reactive control within the new end range. We have 2 exercises to accomplish this.
The first exercise is a Sphere Shoulder PNF. See video below.
- Turn on Sphere (1 of 3 settings depending on the desired level of vibration).
- Hold Sphere in hand, start movement at opposite hip.
- While keeping arm straight, fully extend wrist and move arm in 45o arc across body ending at full range of motion.
- Fully flex the wrist and retrace arc back to start.
- Shoulder being worked should stay down and back and movement should be slow, 3 seconds up, 3 seconds down. Perform 6 reps.
The second exercise is a *Behind the Back* Pullover. See video below:
- Hold wooden dowel behind back gripping with palms up, thumbs in and hands about shoulder width apart.
- While keeping neutral spine and scapula engaged, lift dowel away from back and pause for 1 second.
- Bend forward and let the arms come as far over the head as possible towards the floor and hold for 1 second.
- As you return to a standing position, keep lifting the arms away from the body until you are upright, keeping arms in full extension position. Pause for 1 second.
- Return dowel to resting position behind back.
- Repeat for 10 reps. On the last rep, hold in each pause position for 10 seconds.
- To progress this exercise, add weight to the dowel (start with a 2.5lb plate). To regress, increase width of grip. Eventually adding load is an important reactive stabilizing component to this exercise.
The last exercise is a “Prone Shoulder Dislocation”.
See video below:
- Lie face down on the floor while holding a wooden dowel.
- Hold wooden dowel overhead with arms at about 45o and head on floor.
- While keeping elbows locked, lift arms and elevate shoulders to clear the joint space. Continue to lift dowel, internally rotate the shoulder and retract the scapula until dowel comes to rest on glutes. At this point shoulders are in protraction and depression.
- Keep pelvis posteriorly rotated (avoid arching your back) and abs engaged during exercise. Work up to 15 reps.
- To regress the exercise, use a wider grip. To progress, add weight to the dowel (start with a 2.5lb plate and increase incrementally to an Olympic bar when strength permits).
Perform all of the above 2-3 times per week along with proper form when training and you should begin to see an improvement in shoulder mobility and stability.
Tags:
Related Posts
-
May 13, 2026
The Benefits of the Front Squat
First the WHAT and the WHY Whether you’re a personal trainer or just a fitness enthusiast, front squats are a variation of the squat that -
December 3, 2025
How does the TFM Course Make You Better at Programming?
- Corrective Exercise
- |
- Function
- |
- Mobility & Movement
- |
- Practicum
- |
- Professional Development & Client Interaction
- |
- Warm Up
Recovery is an essential tool and separates elite trainers from average. The TFM course includes the best practices from Fascial Stretch Therapy, Muscle Activation Techniques, -

November 26, 2025
Knees Over Toes: Tips for Squats
“You shouldn’t let your knees go over your toes.” A common fitness belief that has been around for ages. It’s easy to be inundated with
We’re here to help you!
Questions, comments or want to register? Fill out the form below and we will contact you shortly. Thanks!
"*" indicates required fields