Did you know that your hips are the second most mobile joint in your body, after your shoulders?
They are a really important gateway to movement and carry the load of your upper body allowing for almost all lower body movements.
So, what’s a day in the life your hips look like? Do you sleep mostly on one side? How much do you sit? (to eat, to drive, to work, to watch TV, etc.) Do you train in one direction or repeat a movement pattern over and over? (i.e.. cycling or running)
How much hip mobilizing/stretching to you incorporate purposefully into your workouts or recovery? Especially if you sit a lot, stretching and strengthening your hips is really important and will help reduce pain and injury.
The Hip Joint
Your hip is a ball and socket joint. The ball is the head of the femur and the socket is part of your pelvis. Your hip is also a synovial joint – this means that a frictionless cartilage covers the ends of the bones and a synovial membrane, when stimulated with movement, secretes fluid into the joint space further protecting the cartilage from rubbing against other surfaces. Minimizing friction means less wear and tear and a healthier joint long term.
The crucial thing to understand about joints is that they are designed for movement AND they require movement to stay healthy. If you’re dehydrated and don’t move enough, the synovial fluid isn’t produced and then any small amount of movement you do (say, walking from the house to the car and from the car to the office) happens in “dry” joints.
It’s also why a warm-up is so important! Before you load your joints or perform more aggressive movements you want to focus on increasing temperature, getting synovial fluid into the joint spaces, increase the range of motion of the joint and get muscles working to support movement in all directions.
The Planes of Movement
The next thing worth looking at is the multiple planes of movement that are available. We typically move forward but there are actually 3 major planes of movement: sagittal, front and transverse.
Because your hip has so much available ROM, you want to make sure you’re moving and training in all 3 planes. There are also a lot of muscles involved in hip movements – so again, training in multiple planes is going to allow you to work different muscles (yes, including your glutes!).
When we do movement assessments for clients, we often consider muscles that are typically over-active (too tight, shortened, do a disproportionate amount of work, are much stronger and out of balance compared to other muscles) or under-active (too weak, lengthened, not contributing to movement properly, atrophied due to lack of use.)
Here are some examples that are connected to femur, hip and/or spine (and are involved in hip movements):
| Over-Active | Under-Active |
| Psoas (hip flexor) | Gluteus Maximus |
| Adductor (inner thigh) | Gluteus Medius |
| TFL (muscle at the top of your IT band) | VMO (tear drop-shaped quad muscle near your kneecap) |
| Piriformis | Intrinsic core stabilizers |
A balanced program (which can be applied to any goal: weight loss, muscle gain, sports conditioning or wellness) should always train in all planes of motion and, especially at the beginning of the program, should address any imbalances and dysfunctions in movement. The key to progress and injury prevention is ensuring that the body can perform all functional movements (typically requiring a combination of mobility and stability).
Here are some stretches exercises that train the hip in lots of different directions!
Aim for control and range of motion before you add speed, volume or load. If you are new to exercise and are working out at a light to moderate effort there’s no problem doing static stretches at the beginning of your workout.
I recommend doing 5-10 minutes of cardio to increase your body & muscle temperature first. As you become more advanced and are looking to train with more load or speed, I recommend a more dynamic warm-up but these stretches can be a great cool-down or recovery practice (end of the day or a day you’re not working out).
1. Frog Stretch

Take your knees a comfortable distance apart – you should feel a gentle stretch in your inner thighs. If you are really tight, you can bring your toes in to touch – this will reduce the stretch. As you progress, try to turn your feet out like the picture above. It’s important to keep your spine in neutral (not arching your low back.)
Once you have a comfortable stretch (hold for 20-30 seconds) you can increase it slightly by pushing your butt back towards your feet. Be gentle – millimeters will feel like miles! I coach my clients to keep their butt slightly in front of their knees. If you push your butt back too far you are likely rounding your tailbone under and losing neutral spine. If your butt is lined up with your knees and you don’t feel enough stretch, slide your knees a little further apart. As long as you are comfortable you can hold this stretch for 1-2 minutes.
2. 90-90 Stretch

Sitting a lot can lead to low-back pain and even pain that refers down your leg (sometimes involved in sciatic issues.) This is a gentle stretch that moves you into external rotation and can alleviate a tight piriformis. Try to keep a long low back, so hinge from the hips by keeping your chest long and forward. If you’re tight, you can drop your chest down over your front knee.
As you gain range of motion you can work your chest towards your front foot. Shown in the picture above is the halfway point – the chest leaning over the center of the shin. I like to show my clients a wave stretch technique when in this position.
Find your initial stretch (about 5-6 on a scale to 10) and hold there for 20-30 seconds. Then, when you inhale bring your chest up an inch or two, and on your exhale lengthen your chest/spine and try to sink a little deeper towards your leg. You can do this wave 2-3 times, then hold the new depth for 30-60 seconds.
3. Seated Crossover Twist

Twists are great to incorporate because in addition to the muscles they target in your hips, you also stretch your back and achieve a “squeeze and release” in your internal organs – beneficial for digestion and moving toxins & wastes out of your organs.
Start seated with both legs straight, then cross your R foot over your L knee. (If you’re tight, you can place your R foot on the inside of your L knee instead.) Then use your R hand to sit up really tall and support your posture. Use your L arm/hand to gently draw you R knee in a little tighter but try to keep your R hip/glute on the ground.
This keeps you pelvis level and is a better/safer position for your lumbar spine. As you inhale, sit taller. As you exhale, twist a little further. Some people feel this stretch in the R glute and back, some people don’t really feel the glute stretch. If you’re a more flexible person, you can increase the stretch by bending your L knee and tucking your L foot in near your R glute. Again, try to keep your R glute on the ground. Breathe through 60 seconds and then switch sides.
4. Pigeon Stretch (picture above)
This stretch hits multiple muscles and is a really good one to do if you sit a lot. I really like this version (versus the one you see in yoga where the upper body and head are laid down on the floor) because the upright posture unwinds more of the hunched-over-desk-jockey habits many people have.
I like starting this one in a quadruped position (hands and knees.) Then tuck your R foot in and slowly extend your L foot back. If your tight, keeping your R foot closer to your groin will likely be more comfortable. You can also decide how far you extend your L leg. You can play around with the stretch by rolling your R hip down towards the floor and rolling back up to a more upright posture.
Try to find the spot that feels tightest and then stay in that spot and breathe. You might feel this stretch more in the front leg hip or more in the straight leg hip. Where you feel it is where you need it most so don’t be afraid to explore. Try to hold this one for 60 seconds on each side.
5. Lateral Line Stretch

I learned this stretch in a yoga class and I really like it. The lateral line is a continuous line of muscles and connective tissues including your peroneal (side of your shin), IT band, TFL, lateral abdominals, and intercostals (the muscles around your ribs.) Movements like side lunges and side planks are staples in training the lateral line and this is a great stretch.
To start, set up a plank (top of push up.) Then slowly drop your R hip towards the ground and step your L foot in front of your knee/thigh. Play around with how low your hip drops to the ground versus reaching your L arm up towards the ceiling. Push your R hand into the ground to keep length in the R side of your body. If you feel the pressure in your wrist you can even do this one for 3 sets of 20 seconds on each side. Moving into and out of the plank is a bonus core exercise!
6. Kneeling Hip Flexor Stretch (picture above)
I couldn’t leave this one out – it’s definitely a staple. And it’s a great choice if you sit a lot, or are going to train lower body.
Start in a split kneeling position. Tilt your pelvis (draw your pubic bone up and in towards your spine, lengthen your tailbone down. It’s actually helpful to engage your core to maintain the desired neutral spine in this stretch.) Most people will already feel a stretch in the hip flexor or quad. If you want more of a stretch, move your hips forward slightly.
Make sure you don’t lose your pelvic tilt and end up with an arch in your low back when you add intensity. If you still want more, reach the same arm up as the knee that’s down on the floor. Breathe. Keep the posterior tilt in your pelvis and lengthen your ribs away from the top of your hip. You can play with leaning back slightly or leaning away (if your R knee is on the floor and your R arm is up, lean slightly to the L.)
Do this stretch for 60 seconds on each side. And if you notice one side is tighter than the other, hold for longer or do that side twice. For example, my R side is often tighter so I do R, then L, then R again.
There you go! 6 great hip stretching exercises to try out. Incorporate these into your routine and let us know the results!
Blog by: Logan Dube
original blog posted on snclubs.com/blog
Tags:
Related Posts
-
May 13, 2026
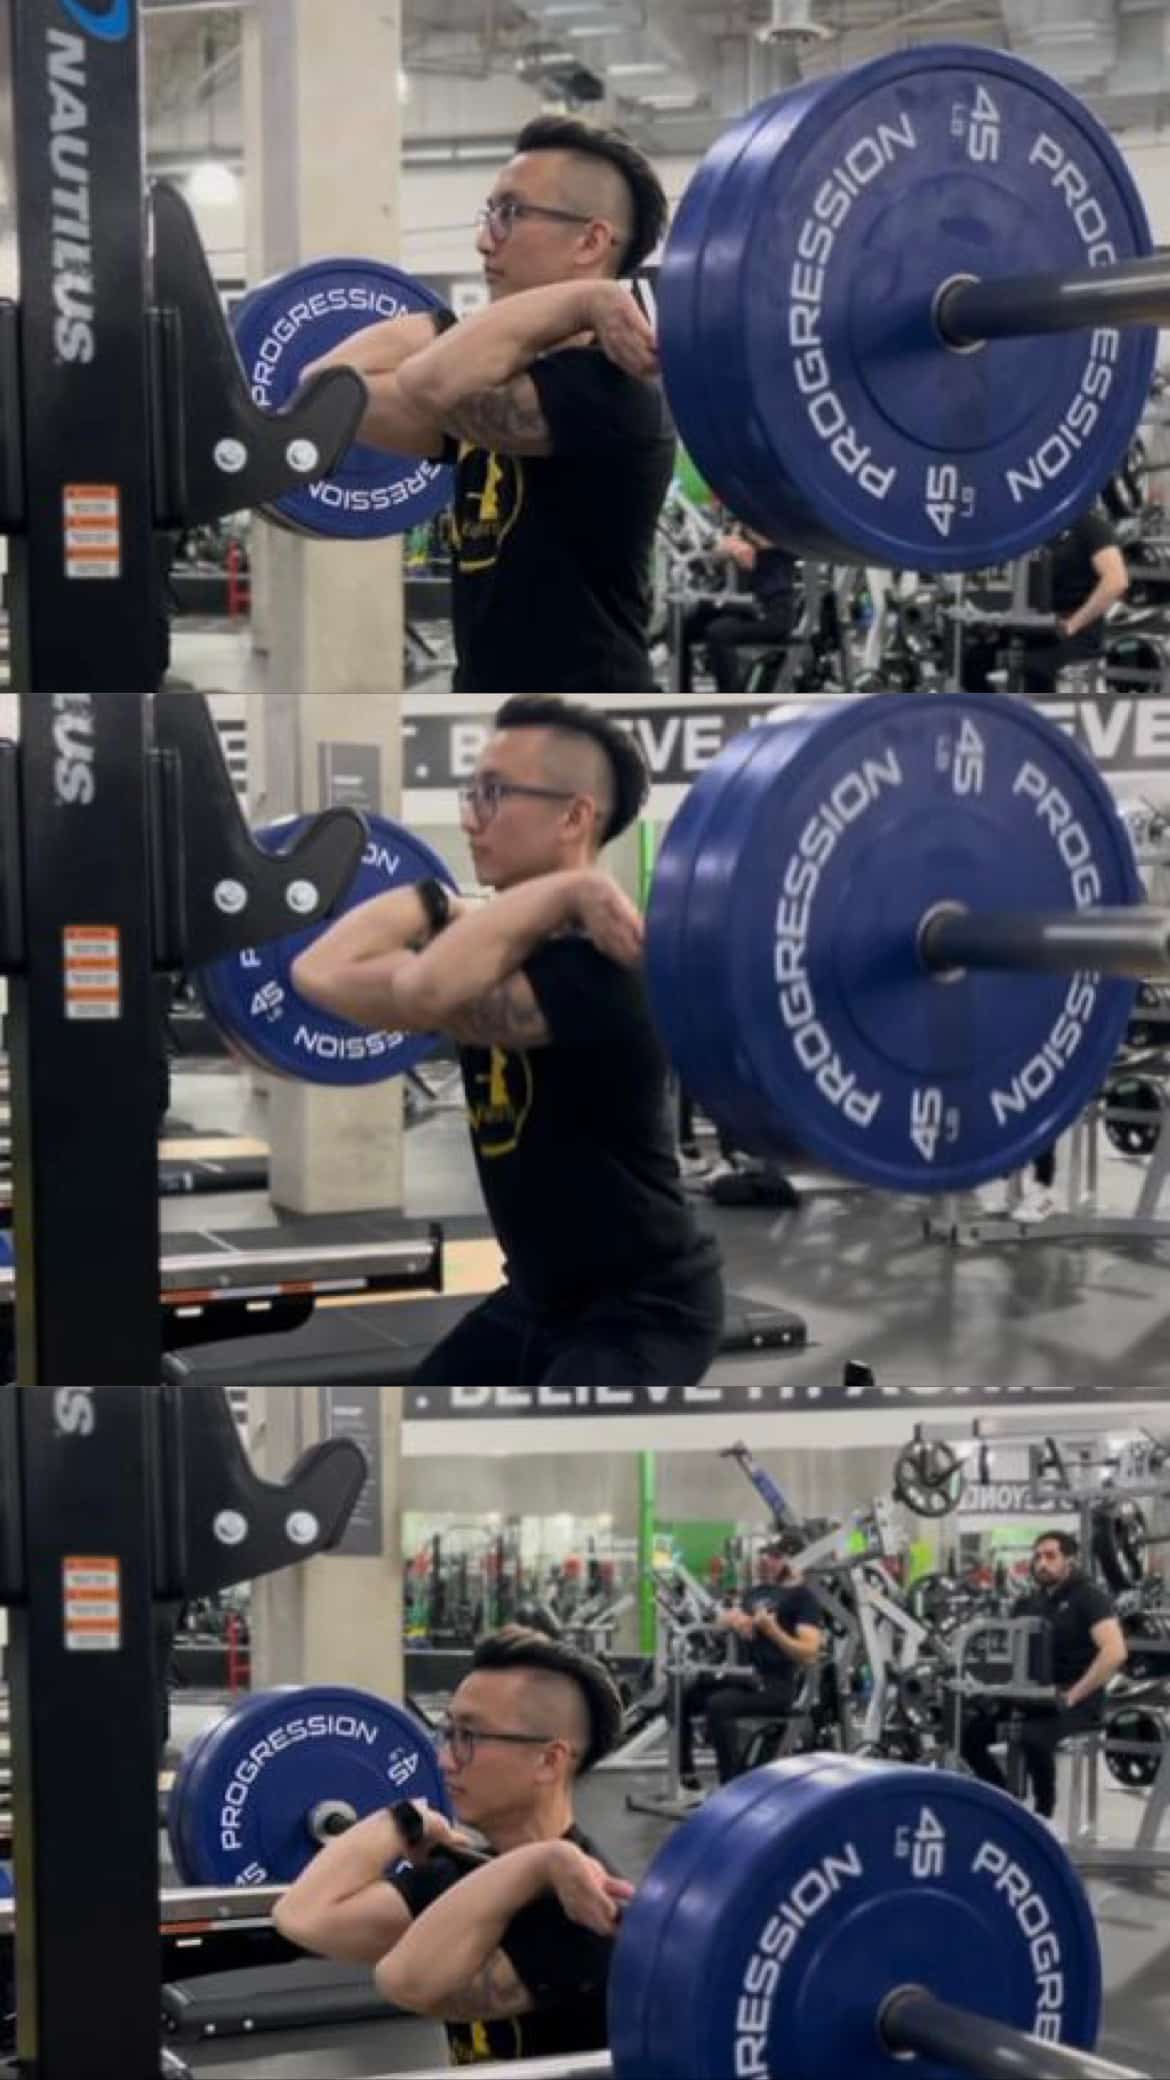
The Benefits of the Front Squat
First the WHAT and the WHY Whether you’re a personal trainer or just a fitness enthusiast, front squats are a variation of the squat that -
December 3, 2025
How does the TFM Course Make You Better at Programming?
- Corrective Exercise
- |
- Function
- |
- Mobility & Movement
- |
- Practicum
- |
- Professional Development & Client Interaction
- |
- Warm Up
Recovery is an essential tool and separates elite trainers from average. The TFM course includes the best practices from Fascial Stretch Therapy, Muscle Activation Techniques, -

November 26, 2025
Knees Over Toes: Tips for Squats
“You shouldn’t let your knees go over your toes.” A common fitness belief that has been around for ages. It’s easy to be inundated with
We’re here to help you!
Questions, comments or want to register? Fill out the form below and we will contact you shortly. Thanks!
"*" indicates required fields